Step 1
Login on your WooCommerce dashboard
Step 2
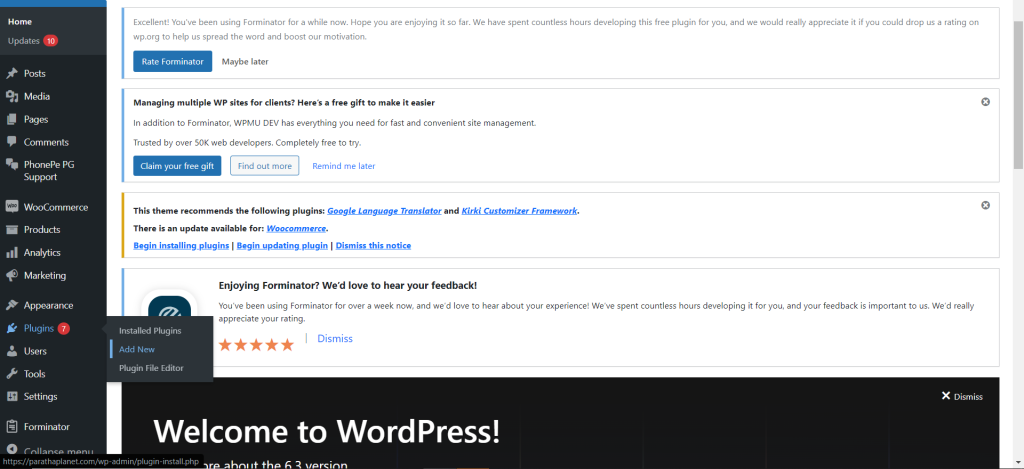
Visit ‘Add New’ section within ‘Plugin’ section
Step 3

Click on ‘Upload Plugin’ and upload the zip file & install
Step 4

Visit ‘Installed Plugins’ page, click on ‘Activate’ on ‘Aasaan Checkout for WooCommerce’ plugin to begin the activation process of the plugin on your WooCommerce from this page or from
Step 5
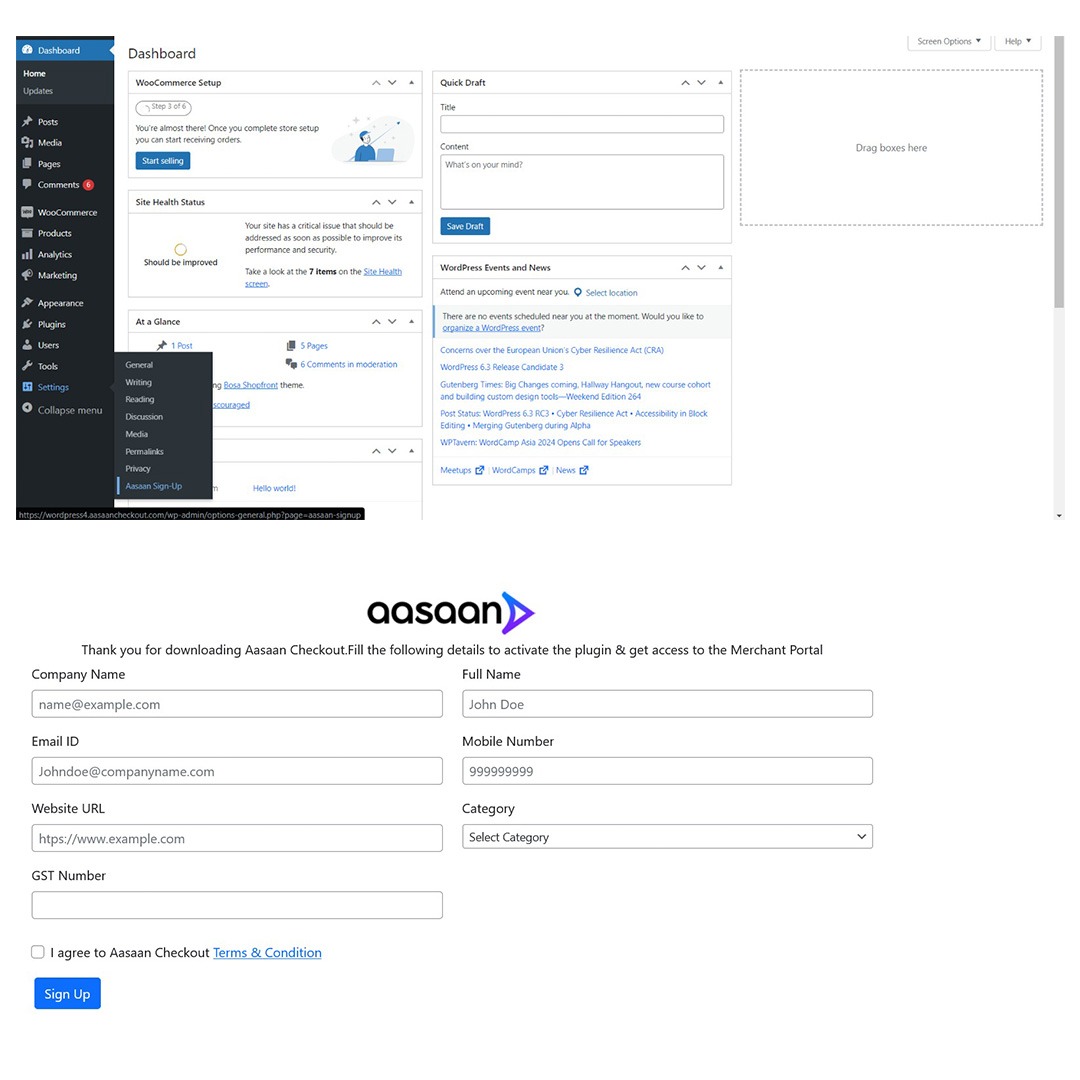
Upon clicking on ‘Activate’, fill in a short ‘Merchant Sign Up’ form.
Step 6
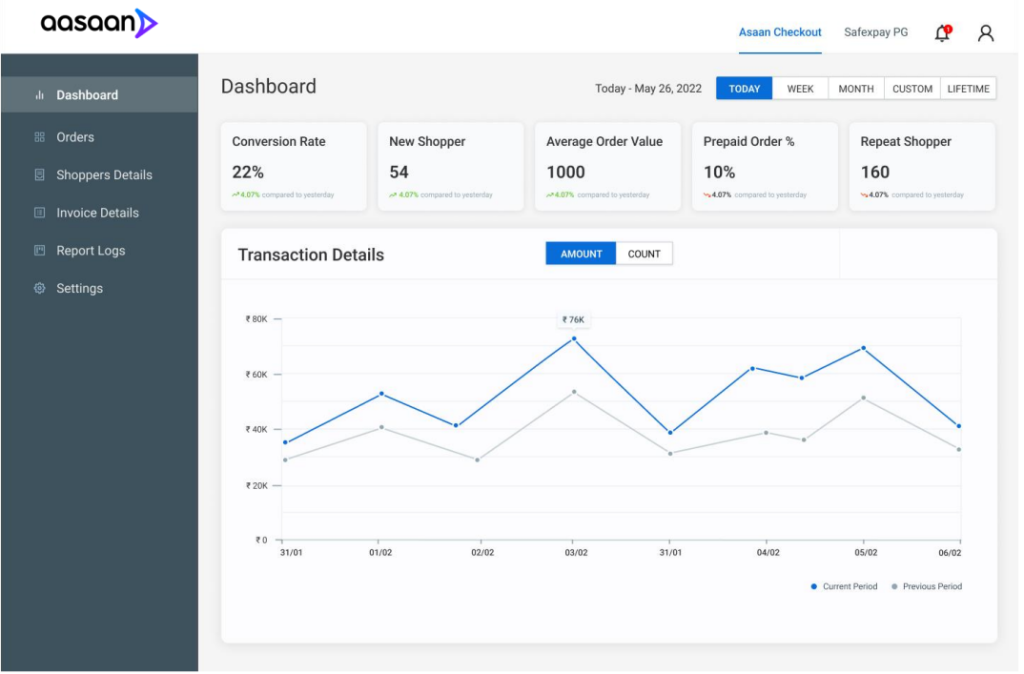
Post filling out the form, Aasaan Checkout plugin will be live on your WooCommerce website, and you will receive an email consisting of the link & the credentials for accessing the Merchant Portal.